

Inspired by the article from Hasura I decided to develop a boilerplate with JWT authentification and authorization in React, Nodejs, Express, and MongoDB. Of course, you can use this app as a boilerplate for your next project.
As the title says we are going to use short-living access tokens in a simple state in our React front-end and refresh tokens in our cookies.
I am not going very in-depth in every line of code but will cover the main logic and flow of JWT with code snippets and diagrams. I will link to other blog posts for further reading, that's why I suggest you clone the front-end and back-end on Github as a set up.
1. Features
Here are the features that our app will be capable of:
- Register user with email and password
- Login user with email and password
- Send email verification and verify email
- Password reset
2. Architecture
The architecture of our server is inspired by "The Clean Architecture" (Robert Martin, a.k.a. Uncle Bob). This framework for building software applications was designed to address the inherent problems with software that are caused by its component-based nature and dependencies.
Here you can find good links for further reading and watching:
- "The Clean Architecture" by Uncle Bob
- Great Youtube video by Dev Mastery to implement Clean Design Architecture in Nodejs
3. What are JSON Web Tokens?
JWT (JSON Web Token) is an open standard (RFC-7519) that defines a compact and self-contained way for securely transmitting information between parties as a JSON object. This information can be verified and trusted because it is digitally signed. For more details read this article.
4. Setup Boilerplate
4.1 Install MongoDB
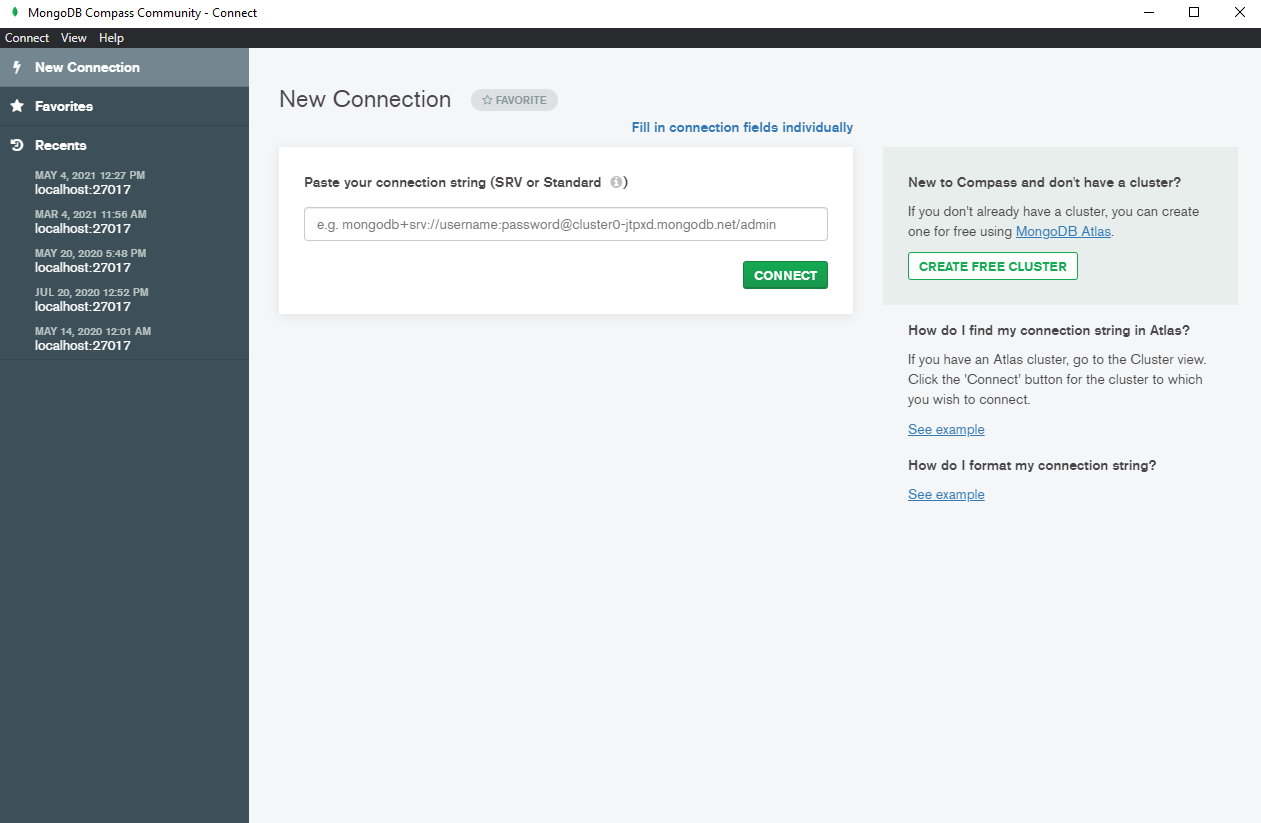
For this boilerplate, you have to install MongoDB and download MongoDB Compass. Read the docs to do so. After installing open the MongoDB Compass Community and connect it to localhost:27017.
4.2 Run the server (back-end)
Clone the repo, install its dependencies, and start the server on port 5000. I assume you have Nodejs installed already.
git clone https://github.com/tuncpolat/jwt-auth-nodejs.git
npm install
npm run dev
4.3 Run the React app (front-end)
Clone the repo, install its dependencies, and start the app. It will run on port 3000.
git clone https://github.com/tuncpolat/jwt-auth-react.git
npm install
npm start
That's all to get started. You can visit http://localhost:3000 to test out the boilerplate.
Note: I use Ethereal to create fake email accounts.
5. Register user, send access & refresh token
To understand how we handle JWT let's take a look at how we sign-up users. The following diagram shows how our react app and our server work together if the user tries to sign up. I also try to provide a few code snippets below to follow along with the diagram.

First of all, the user will input his email and password, submit it and send this information as the body in a POST request to the route http://localhost:5000/api/register. In our react code it looks like this:
Thereafter, we will check if our user already exists in the database. If not we will hash the password, send an email verification mail, and save the new user to our database. Take a look at src/user/use-cases/register-user.js in our back-end code:
Still in our server code, before we send back a response, we are going to sign our access token (with a short expiration date) and our refresh token (long expiration date) with the help of the jsonwebtoken npm library. See src/auth/use-cases/signup-access-token.js
Now we are ready to send the tokens back to the client. However, we will send the individual tokens in two different ways. The short-living access token will be sent in the 'Authorization' header. On the contrary, the refresh token will be sent via a cookie. The cookies attribute is set to
{ httpOnly: true, secure: true, sameSite: 'None' })
So our response back to the client looks like this.
Back in our client, we will await our response and then call the onSignUp(accessToken, email) function with the first parameter which will be our access token (comes from our header), and the second one the email entered before. The function onSignUp is declared in our auth context.
Here we can see that we are saving the access token just in our memory and not in local storage... read this article on why you shouldn't save tokens in local storage. After we set the access token in memory we can push our user to a protected route. Here we will push the user to the screen EmailSend, where he will just see a message which gives him instructions to verify his email. Another option is to send him directly to the Dashboard screen. It's up to you how you want to handle the onboarding.
Now you should approx. understand how we sign up users and send both tokens. So the next question is how we access protected routes in our server.
6. Access protected routes on our server or how users authenticate themselves
Imagine the user is now on the Dashboard component and requests for protected resources on our server (in this case http://localhost:5000/api/user which will just send back some basic user data). For this, he needs to authenticate himself. Let's take a look at the next diagram to understand how we do that.

First, the user makes a GET request to the route http://localhost:5000/api/user in our Dashboard component (see below). The authorization header of the request contains the valid access token.
Our server will extract the access token and verify it. If the access token is verified and not expired, we will then access our database to grab the requested data. Finally, we will send the data back in the body of our response. Take a look.
So that's all great but still, we have some issues. What if the access token, which has an expiration time of 15 minutes, expires?
7. What happens when the access token expires?
Remember that we set the access token to expire in just 15 minutes? That implies that the user would need to sign in every 15 minutes, which is a terrible UX. To solve that problem imagine what happens if we try to access our protected route after the access token has expired.

In our server code let's take a look again at route http://localhost:5000/api/user and see what happens when the request fails. This time pay attention to our catch statement.
As you can see, we will send the response status code 401, which means unauthorized. This status code will trigger the following axios interceptor in our client.
It says that if we get a 401, just make a POST request to the route http://localhost:5000/api/refresh_token. This request will extract our refresh token, which is sent automatically as a cookie in every request, verify it and send back a newly signed access token (see the code below). After we get the newly signed access token, our front-end retries the failed 401 request before, but this time with a new (valid) access token.
We were therefore able to solve the issue of the expiration time and the user won't have to sign in every 15 minutes. Still, we have one more issue, namely that refreshing the app would lead us to be logged out because we didn't save our access token in a persisting state (for example localStorage). Let's handle this last issue.
8. Refreshing our app
Maybe you noticed that we just saved our access token in a simple state... if we refresh our app the default state of our authenticated state is set to false and we would be logged out.
const [authenticated, setAuthenticated] = useState(false);
In this diagram, you can see an overview of how we solve this last issue.

So to counter this problem we check whenever we reload our app if we have a valid refresh token.
First, we start with our client. In our client (AuthDataProvider.js), we run the useEffect hook to check if we are authenticated.
On a reload we run the useEffect hook to make a POST request to our backend route http://localhost:5000/api/refresh_token.
This route in our backend will extract the refresh token, verify it, and if it's still valid (authenticated) send a new access token, which again will be expiring in 15 minutes, back to our client.
After receiving the new access token and storing it in the authenticated state, the user is logged in again. If we look at our Higher Order Component PrivateRoute.js we can see if we use our authenticated state to let the user access protected routes or not.
So after we get a new access token, save it in our authenticated state, we have logged in again. Problem solved. That's almost the same logic that we used before to solve the problem with short-living access tokens.
9. The End
I hope this article helps to understand the authentication and authorization flow with JWT in a MERN app. Don't hesitate to ask me if something isn't clear. It's my first blog post, so I would really appreciate feedback 😁.